

If you noticed that I haven’t posted in a while, it is because we moved! Exciting and exhausting all at once! Now that we are a little more settled in I am looking forward to sharing some of our new home with you all.
Today’s topic is our wood flooring!

The wainscotting that was already in the house gave off such a cozy, farmhouse vibe, that we wanted to keep it going. And what is more farmhouse than wide, wood plank flooring?! I began looking at hardwood online and realized I really did not like the look of manufactured hardwood (the type you buy in a box at home depot). I had seen other people buy planks of lumber but it always seemed to turn out so yellow/orange, which we did NOT want at all. In this blog I am going to share the process of how we achieved our farmhouse wood plank flooring.
*Note: if you are refinishing floors skip to step four.
Step One: Find Wood and Gather Materials
We were able to get our pine straight from a lumber mill close to North Bay. The owners mill the wood right from their property. We chose pine for it’s look and durability. It’s technically considered a softwood, but can be very resilient and long-lasting. Our lumber mill prepared the lumber with tongue and groove so the pieces would fit perfectly together.
Materials List:
Tongue and groove Pine
Flooring products (more on this later, you will need some sort of sealant and finish)
Nails
Flooring Glue
Equipment (Nail gun, screws, saw, etc)
Square buff floor sander and sandpaper (we rented one)
Step Two: Prepare
We started by ripping out the old floors and removed all trim from the walls. We swept and mopped the area before the new flooring went down.

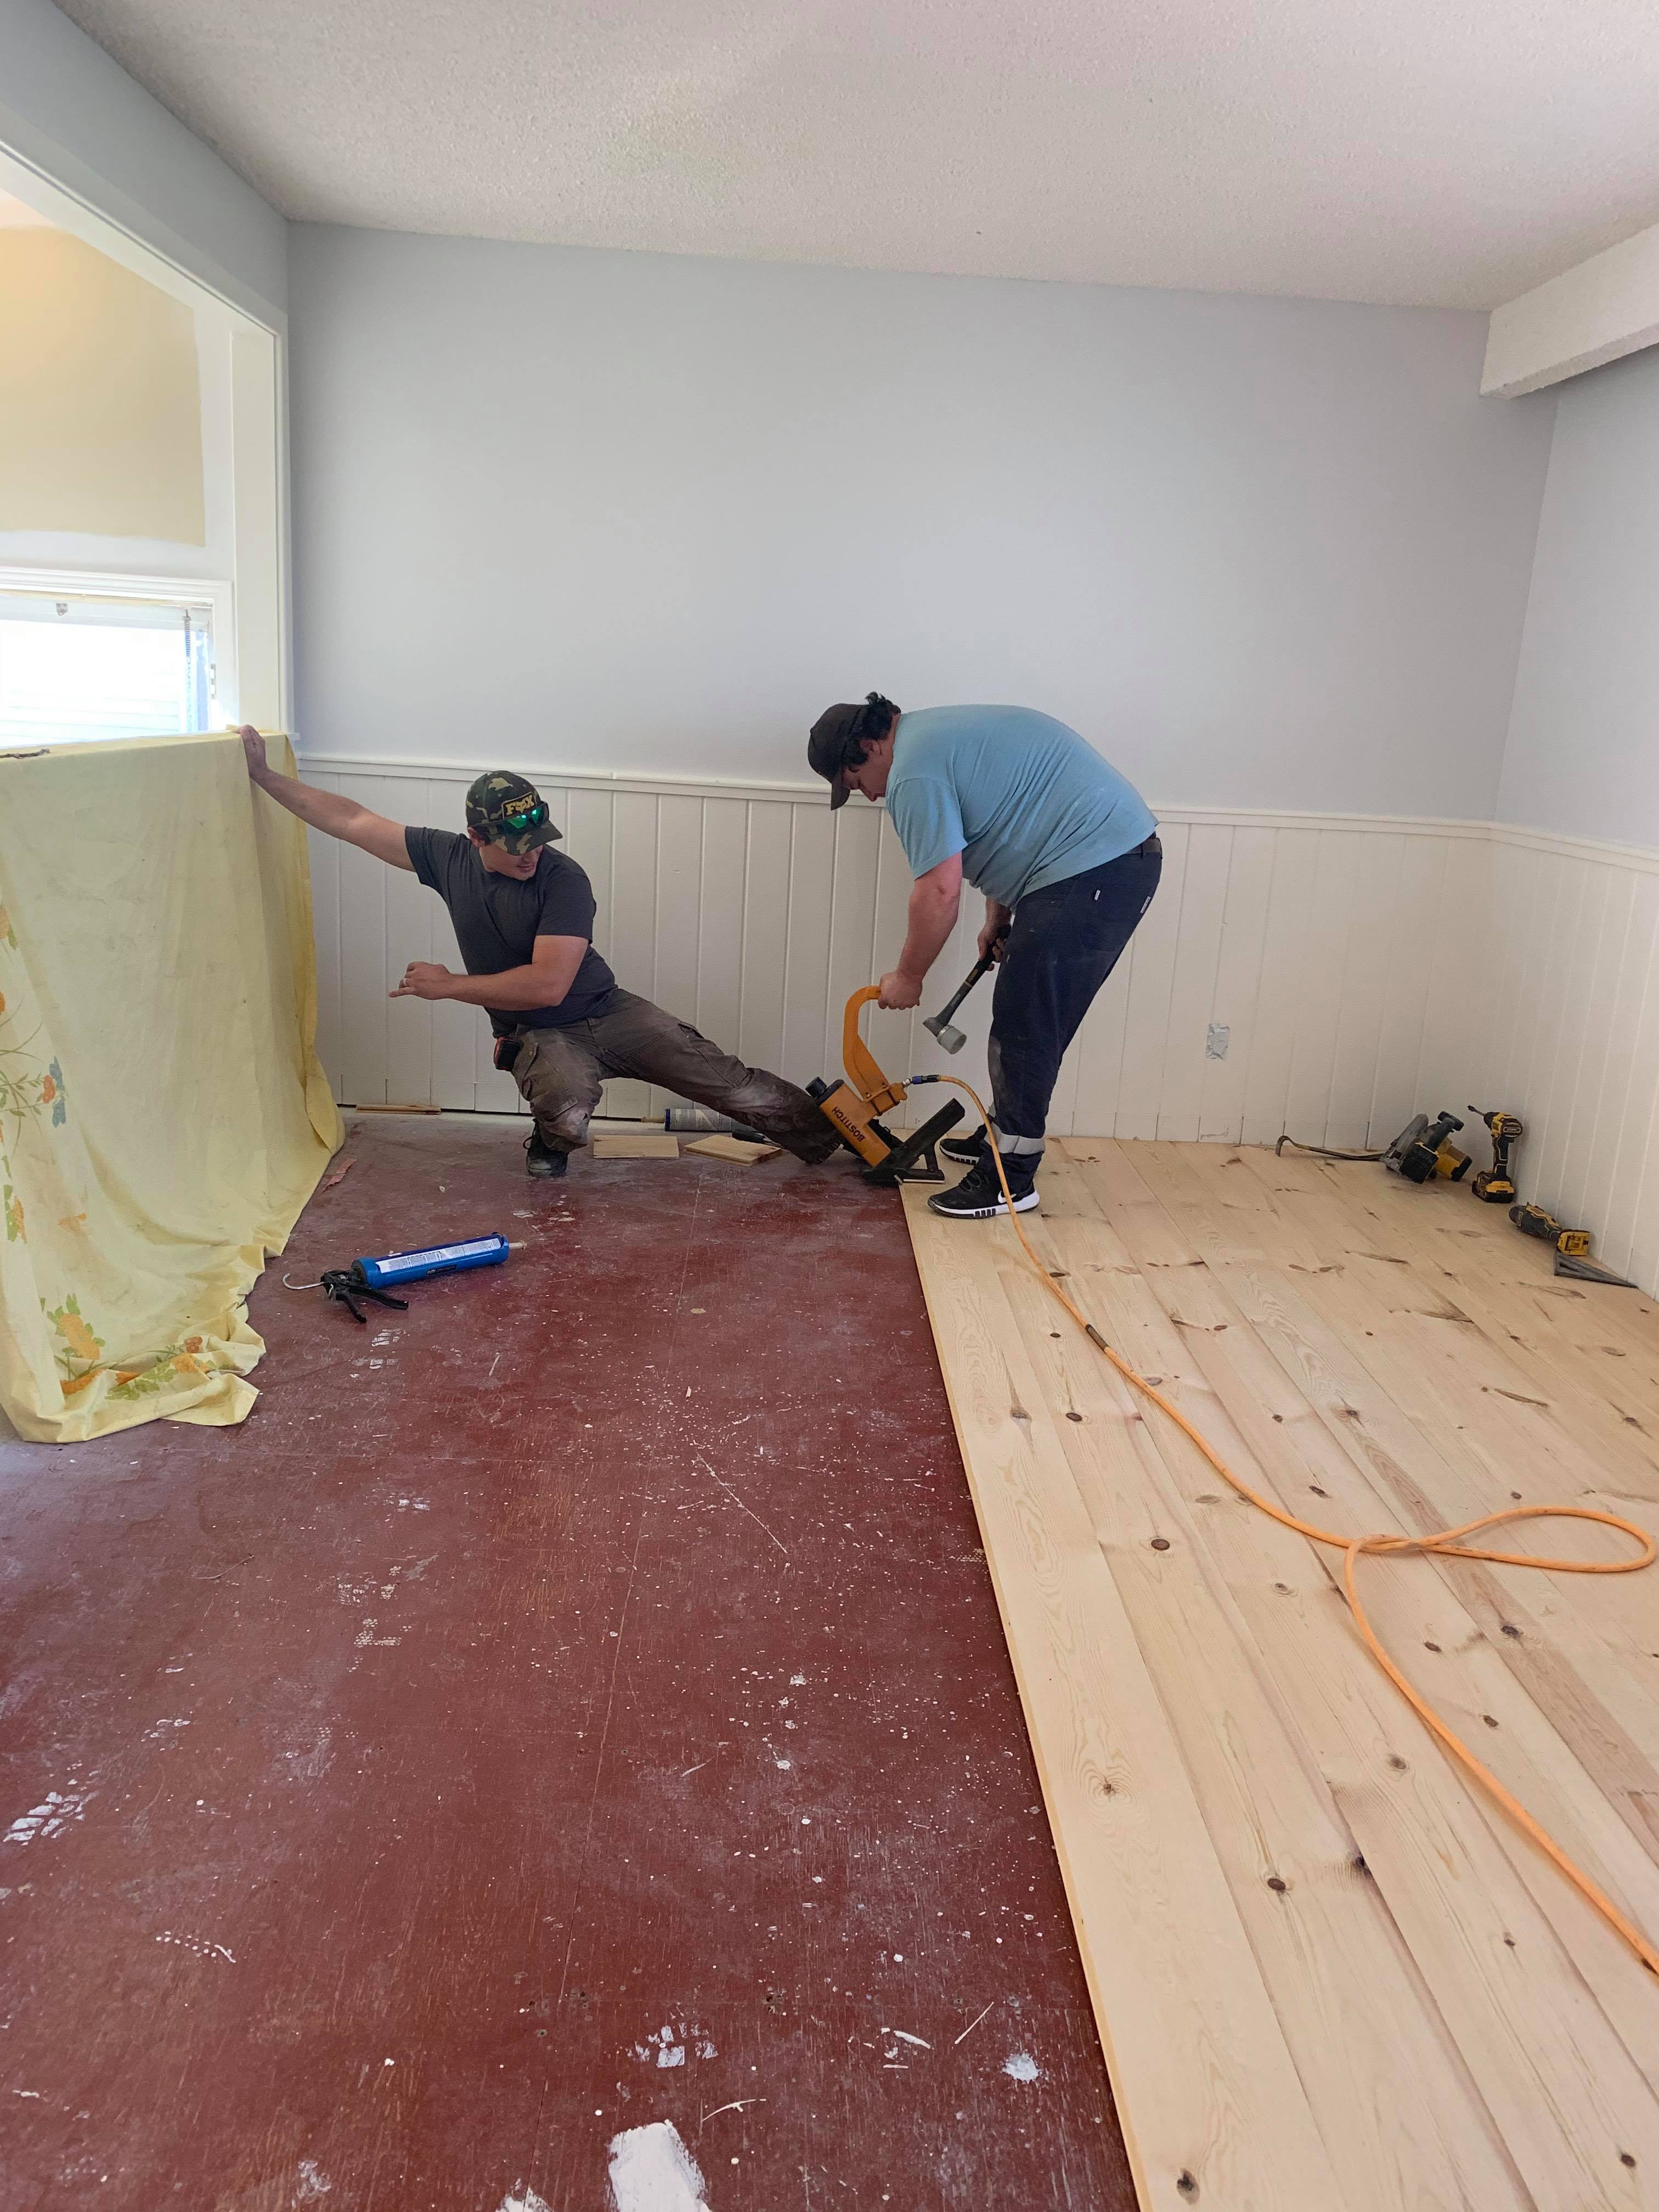
Step 3: Lay Flooring
I should add a disclaimer that we were able to finish this project entirely because of the help we received from my Dad, who’s a carpenter, and my brother. We would have had to do a LOT more research/learning if we were going to do this alone, and it likely would have taken a week.
The men laid the flooring down in ONE day, while I ran back and fourth to Home Hardware a hundred times and brought them food every few hours.
Step Four: Finishing

This is where I came in. I had made it my full time job to learn everything I could about finishing flooring. I REALLY wanted to do everything in my power to avoid our pine taking on any brassy/orange tones. I had found a blog post about Bona flooring products and was sold. I spoke with a professional flooring person and he was kind enough to give me the 411.
Now, I will warn you, these products are NOT easy to find. You will have to find a Bona plug of sorts lol You may be lucky enough to find the products on Amazon but we had to travel to Aurora, Ontario to find what we needed.

The products we used are:
You will also need:
-stick roller with a few microfibre rollers (The kind used to stain floors)
-Flooring buffer machine (to sand)
-Sand paper sheets for said machine (like at least 200 grit)
-Edger for edging in the sealer/finish
4.1 Destroy Perfect Floors
We gave our floors a distressed look by hammering nails and other random objects on top to leave a print. This is optional, but a lot of fun!
4.2 Sand Floors
Using the machine we rented, we sanded all the floors, then lightly mopped and vacuumed. You want the floors really clean. Like stupid clean. We ended up doing the floors in our socks to make sure we didn’t seal any dirt into the floors.
Note* We did not use any stain as we wanted to preserve the pine’s natural beauty and colour.
4.3 Seal
These products are NOT easy to work with if you are not a professional (like we aren’t lol). Watch this video from the Bona Youtube channel at least three times before you start sealing! Try not to overthink it, it’s just like painting a wall.
Using Bona Natural seal, cut in starting from one side of the room working towards the other. These products dry very quickly, so you will have to work fast and only do small sections at a time. Remember to work with the grain of the wood. We did a few planks at a time.
Using your roller, apply the product to the rest of the flooring once you’ve cut in.
One of the best parts of Bona products is that they dry very fast. We waited the recommended 3 hours and continued onto the next step.
4.4 Sand
Lightly sand with your high grit sandpaper, vacuum and wipe with a damp cloth.
4.5 Apply Finishing
This was a bit of a process, the woman who sold us the products recommended doing a coat of Bona Mega One as it was cheaper than the recommended 2 coats of Traffic HD.
Apply Bona Mega One the same way as explained in step 4.3. Let dry. No need to sand between coats, but for the smoothest finish it is recommended. We were going for a distressed look so opted to skip.
After the 3 hours, I applied the Bona Traffic HD and let dry.

And Voila! Our floors were done!
I will link the blog where I got the idea to use Bona products, as she does a wonderful job of explaining the process! Although we did end up following the advice of the flooring professional who gave me the 411 and the woman from the flooring store ultimately.
I love how our floors turned out. I have to add, that we would NOT have been able to pull this off without the generous help of my Dad and Brother. They are the real MVPs.
More house content to come!
Let me know what you think in the comments below!
-Hunter
